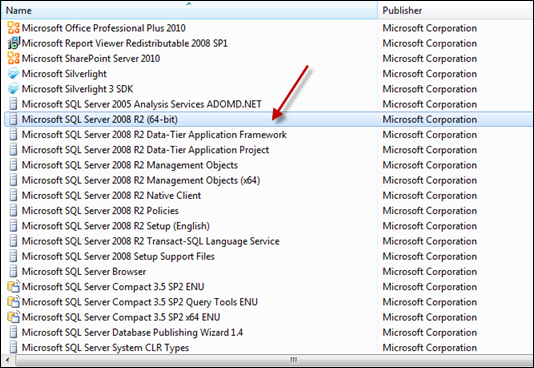
I installed SQL Server 2008 R2 in my Windows 7 to configure SharePoint 2010 as a Farm. After trying many options, I am still having problem to install SharePoint 2010 in Windows 7 as a farm using SQL Server 2008 instead of SQL Server 2008 Express Edition.
It’s time to remove SQL Server 2008 from Windows 7 so that I can use SQL Server 2008 Express to install SharePoint as stand alone installation.
To Remove SQL Server 2008 from Windows 7, do the following steps
1. Go to Control Panel | Program | Uninstall Programs |Microsoft SQL Server 2008 R2 (64-bit) | and click on Uninstall

2. You will get option to Add/Repair and Remove SQL Server 2008 . Click Remove

3. Once Setup Support Rules completed, click OK

4. Select Instance to remove
Select the instance of SQL Server to remove. To remove Management Tools and Shared Features only, Select
Remove Shared Features only and then click next.

5. Select the features to remove
The SQL Server Features on this computer are shown below. To remove a feature, select the checkbox next to the feature name

6. Click next to Removal Rules and your system is ready to Remove SQL Server 2008

7. Removal of SQL Server 2008 R2 from Windows 7 computer

8. Complete: Your SQL Server 2008 R2 Removal Completed Successfully.

No comments:
Post a Comment